The tutorial is ultra easy and in a few minutes we will be able to produce a huuuuge amount of metal sheets!
It is time to build the printing press itself.
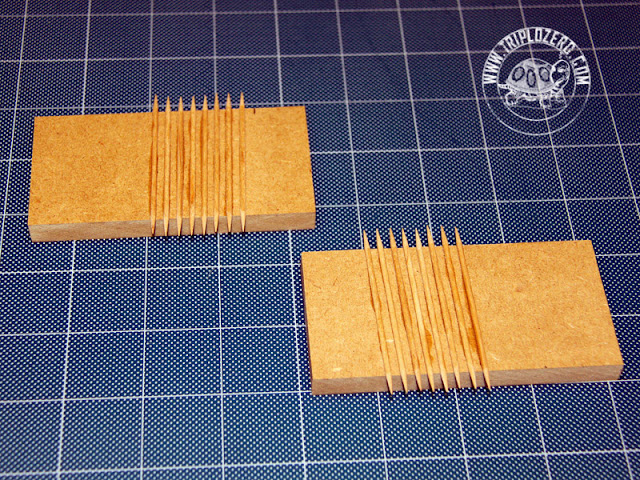
We need two small pieces of wood or MDF (I usually use this material) of quite small thickness, at least 1 cm. The ones shown in the pictures have the dimensions of 10x5 cm.
Let’s glue the toothpicks, alternating an empty space with a filled one. We can use a toothpick that we did not glue to separate the small sticks. I suggest to leave slightly bigger gaps between the toothpicks since it will be helpful if you are going to use a thicker latten.
With the cyanoacrylate glue we can speed up the gluing process of the small sticks.
Now we have to arrange the second piece of MDF over the first and with a pencil let’s mark the empty spaces in order to glue the second row of toothpicks.
Take a latter and put it on the bed of toothpicks. Put the first halve of our tool over the second one. You can use the pointy ends of the toothpicks as a guide to help yourself aligning the MDF.
Press the mold increasing the pressure. I’ve noticed that you can obtain better results on the final corrugated metal sheet if you push with more strength on one side first and then on the other instead of pushing with a constant pressure on the whole surface.
Enjoy yourself!


No comments:
Post a Comment